





The contemporary multimedia production ecosystem relies on an integrated architecture of high-fidelity audio reproduction, precise acoustic signal capture, and advanced optical imaging. Across music production, broadcast journalism, commercial photography, and cinematic filmmaking, sound engineers, content creators, and visual artists depend on specialized hardware to capture and render sensory details with absolute clarity. Building a professional recording studio or visual media production rig requires a deep understanding of audio transducer mechanics, polar microphone response patterns, sensor dynamic range, and lens optical design. Harmonizing audio-visual hardware performance enables creators to produce broadcast-standard content that captivates global audiences.
Sustaining professional production quality across changing media environments demands moving beyond superficial device reviews toward deep acoustic and optical evaluation. Without a clear understanding of frequency response curves, total harmonic distortion ($THD$), polar pickup patterns, and sensor readout speed, creators face muddy audio mixes, unwanted room reverberation, out-of-focus imagery, and optical distortion. Furthermore, as digital recording equipment and mirrorless camera systems continue to evolve, mastering speaker enclosure engineering, studio microphone selection, and camera optics configuration becomes essential. Balancing technical hardware specs with creative production workflows allows media professionals to build reliable setups capable of delivering exceptional media experiences.
1. Loudspeaker Transducer Mechanics, Acoustic Enclosure Design, and Audio Monitoring
Loudspeakers serve as the final diagnostic transducer in the signal chain, converting electromagnetic audio signals back into physical mechanical sound waves via moving voice coils, diaphragms, and magnet assemblies. Achieving accurate sound reproduction—whether utilizing active nearfield studio monitors or high-output consumer bookshelf speakers—requires maintaining a flat frequency response, minimal phase distortion, and rapid transient response. Enclosure design, including bass-reflex port tuning and internal acoustic dampening, directly influences low-frequency extension and cabinet resonance control.
Selecting optimal monitor speakers demands evaluating room cubic volume, acoustic wall treatments, crossover network frequencies, and amplifier power output. Audio engineers, music producers, and audiophiles seeking top speaker reviews, studio monitor buyer guides, and acoustic playback insights can explore specialized audio portals like 10 Speakers to make informed sound monitoring equipment choices.
Core pillars of loudspeaker transducer mechanics and monitor selection include:
- Driver Component Architecture: Balancing silk-dome or ribbon tweeters for smooth high frequencies with woven Kevlar or aluminum woofers for tight bass.
- Active vs. Passive Crossover Systems: Utilizing bi-amplified active speaker configurations to eliminate passive crossover phase alignment issues.
- Cabinet Diffraction and Waveguide Engineering: Shaping front baffle edges and tweeter waveguides to optimize off-axis sound dispersion and stereo imaging.
- Acoustic Isolation and Placement: Decoupling speakers from desk surfaces using isolation pads to prevent sympathetic resonance transference.
2. Studio Microphone Engineering, Polar Patterns, and Acoustic Vocal Capture
Capturing pristine vocal takes and acoustic instrument performances relies on selecting the appropriate microphone topology for specific sound pressure levels ($SPL$) and room environments. Microphones operate primarily as dynamic, large-diaphragm condenser, or ribbon transducers, each offering distinct transient speeds and tonal characteristics. Dynamic microphones excel in high-$SPL$ broadcast and live environments, whereas sensitive condenser microphones capture subtle vocal air and high-frequency harmonic overtones in treated studio rooms.
Navigating microphone selection requires analyzing polar pickup patterns—cardioid, supercardioid, omnidirectional, and figure-8—to maximize off-axis sound rejection and isolate desired sound sources. Podcasters, studio recording engineers, and voiceover artists seeking microphone reviews, vocal recording guides, and audio interface pairing tips can consult specialized microphone platforms like Microphone Authority to optimize their vocal capture chain.
Key Criteria for Studio Microphone Selection and Setup
Achieving broadcast-quality vocal recordings depends on several critical microphone configuration variables:
- Transducer Type Matching: Utilizing low-sensitivity dynamic mics for untreated rooms and high-sensitivity condenser mics for quiet, acoustically dampened booths.
- Proximity Effect Management: Adjusting performer distance from cardioid capsules to control low-frequency bass boosting during close vocal tracking.
- Preamplifier Impedance and Gain Staging: Pairing low-output dynamic or ribbon microphones with clean, high-gain inline preamplifiers to prevent pre-amp self-noise.
3. Digital Camera Sensor Architecture, Optical Lens Selection, and Cinematography
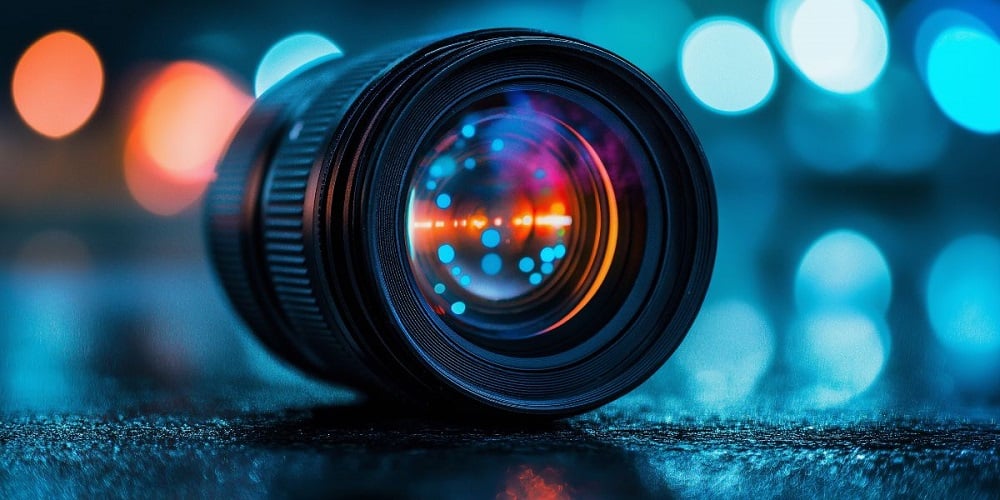
Creating high-impact visual media requires mastering digital camera sensor design, lens focal length geometry, aperture exposure dynamics, and color science profiles. Modern mirrorless and cinema cameras utilize Full-Frame, Super35, or Micro Four Thirds CMOS sensors that convert light photons into digital signal values. Evaluating visual performance involves assessing dynamic range latitude (stop count), high-ISO signal-to-noise ratios, color depth bitrates, and rolling shutter readout speeds.
Pairing camera bodies with sharp prime or versatile zoom lenses determines depth of field control, edge-to-edge optical resolution, and low-light capabilities. Photographers, videographers, and camera gear enthusiasts seeking camera reviews, optical lens comparisons, and cinematography equipment breakdowns can research specialized visual media portals like Best Camera World to elevate their camera systems.
4. Acoustic Room Treatment and Reflection Control
Even the highest quality microphones and studio monitors will sound poor in an acoustically untreated room characterized by parallel reflective walls and flutter echoes. Installing porous broadband absorption panels controls mid-to-high frequency reflections, while corner bass traps attenuate low-frequency standing waves and room modes.
Placing diffusers on rear walls scatters reflected sound energy without deadening room acoustics, maintaining a natural listening environment. Proper acoustic room treatment ensures monitor accuracy and vocal tracking clarity.
5. Preamplifier Gain Staging, Analog-to-Digital Conversion, and Audio Interfaces
The audio signal chain between a studio microphone and a digital audio workstation (DAW) requires precise analog gain staging and high-resolution Analog-to-Digital (A/D) conversion. High-grade audio interface preamps supply ultra-clean voltage gain with minimal total harmonic distortion, preserving subtle vocal nuances.
Utilizing 24-bit or 32-bit float recording depths prevents digital clipping and maximizes dynamic range latitude. Maintaining clean digital signal conversion guarantees professional audio fidelity throughout post-production mixing.
6. Camera Lens Optics, Aperture Mechanics, and Depth of Field
Camera lenses utilize complex arrangements of spherical, aspherical, and extra-low dispersion (ED) glass elements to minimize chromatic aberration and optical distortion. Fast prime lenses featuring wide maximum apertures (such as $f/1.2$ or $f/1.4$) allow maximum light gathering while creating smooth, shallow depth-of-field background blur (bokeh).
Selecting focal lengths suited to visual subjects—such as 85mm for portraits, 35mm for documentary scenes, or 24mm for landscapes—defines spatial compression and visual narrative tone. High-quality glass optics maximize sensor resolution capabilities.
7. Lighting Architecture, Color Temperature, and Video Exposure
Proper lighting is fundamental for achieving cinematic video exposure and capturing rich color saturation on camera sensors. Professional lighting setups utilize continuous LED fixtures with high Color Rendering Index (CRI 95+) and Television Lighting Consistency Index (TLCI) ratings to render accurate skin tones.
Balancing key, fill, and hair accent lights while controlling color temperatures (3200K tungsten to 5600K daylight) creates visual depth and mood. Precise lighting control prevents camera sensor noise in shadow areas.
8. Audio Pop Filters, Shock Mounts, and Physical Vibration Rejection
Isolating sensitive studio microphones from mechanical rumble and physical floor vibrations requires utilizing dual-elastic shock mounts. Mechanical vibrations from foot steps or desk taps can travel up microphone stands and degrade low-frequency recording quality if unmitigated.
Placing dual-layer mesh or metal pop filters between vocalists and condenser capsules disperses harsh plosive air blasts (“P” and “B” sounds) before hitting the delicate mic diaphragm. Physical isolation accessories protect recording cleanliness.
9. Video Codecs, Log Color Profiles, and Post-Production Workflows
Maximizing dynamic range and color grading flexibility in visual post-production requires shooting in flat Log color profiles (such as S-Log3, C-Log, or V-Log) or RAW video formats. Log recording preserves highlight and shadow detail that standard Rec.709 video profiles clip internally.
Utilizing high-bitrate 10-bit 4:2:2 video codecs prevents color banding during heavy post-production color grading cycles. Optimized video capture formats ensure seamless cinematic finishing workflows.
10. Strategic Production Hardware and Audio-Visual Review Checklist
Maintaining a high-performing, broadcast-standard production studio requires periodic systematic evaluations across all audio and visual hardware chains. Content creators and studio engineers should regularly review their posture using the following framework:
- Loudspeaker & Monitoring Audit: Calibrate studio monitor placement, check speaker isolation pad stability, and audit room acoustic treatment.
- Microphone & Vocal Chain Check: Inspect microphone polar pattern settings, test pre-amp gain staging, and replace worn elastic shock mount bands.
- Camera Body & Optics Review: Clean lens glass elements with optical microfiber cloths, update camera firmware, and audit sensor dust levels.
- Lighting & Post-Production Inspection: Check continuous LED light CRI ratings, verify 10-bit Log recording settings, and backup project media drives.
By systematically combining calibrated loudspeaker monitoring, engineered studio microphone selection, optical camera technology, and disciplined production workflows, media professionals can build world-class production rigs capable of producing timeless audio-visual content.