

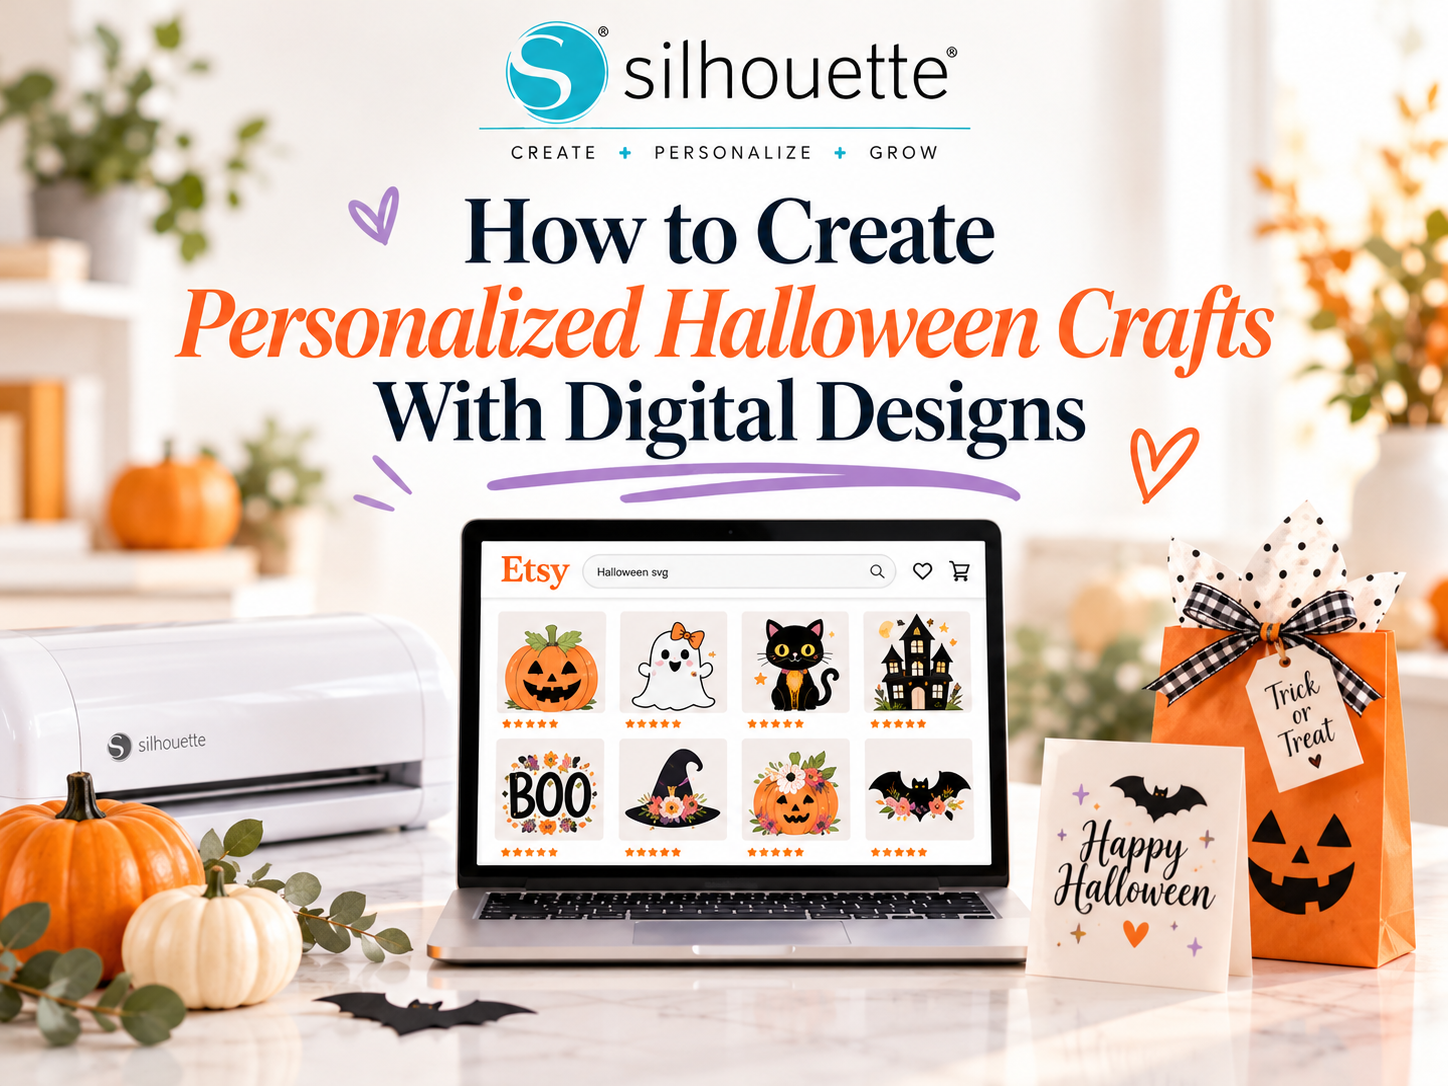
Halloween is one of the best times of year to get creative. From spooky party decorations and treat bags to personalized T-shirts, stickers, signs, and greeting cards, there are countless ways to turn ordinary craft materials into something uniquely yours.
The easiest way to make Halloween projects feel personal is to start with a digital design and customize it before cutting.
With a Silhouette cutting machine, Silhouette Studio®, and the Silhouette Design Store, you can transform ready-to-use Halloween artwork into personalized crafts for your home, classroom, party, or small business.
Here’s how to get started.
What Are Digital Designs?
Digital designs are downloadable graphics that can be used to create physical craft projects.
Depending on the file and its intended use, digital designs can include:
- Cut files
- Fonts
- Patterns
- Print & Cut artwork
- Decorative graphics
- Layered designs
Instead of drawing every Halloween element yourself, you can start with professionally created artwork and customize it to match your project.
The Silhouette Design Store offers a wide range of Halloween-themed designs, making it easy to find inspiration for your next spooky project.
Step 1: Choose a Halloween Design
Start by thinking about what you want to create.
For example:
- Personalized treat bags
- Halloween T-shirts
- Pumpkin decorations
- Trick-or-treat signs
- Party invitations
- Stickers
- Gift tags
- Halloween cards
Then look for a design that matches the style you’re going for.
You might choose classic pumpkins and ghosts, cute Halloween characters, spooky typography, bats, spiders, or haunted-house graphics.
Step 2: Customize Your Design in Silhouette Studio®
Once you’ve selected your artwork, open it in Silhouette Studio®.
This is where the fun begins.
You can customize the design by:
- Adding a name
- Changing the size
- Adjusting colors
- Combining multiple elements
- Adding a date
- Changing text
- Creating an offset
- Rearranging layers
For example, a basic Halloween design can become a personalized “Emma’s Boo Crew” shirt simply by adding a name and changing the lettering.
A generic treat-bag graphic can become a custom party favor featuring the birthday child’s name.
Step 3: Match the Design to Your Material
Different Halloween projects work best with different materials.
Adhesive Vinyl
Great for:
- Pumpkin decals
- Windows
- Treat containers
- Party signs
Heat Transfer Vinyl
Ideal for:
- T-shirts
- Sweatshirts
- Tote bags
- Halloween costumes
Cardstock
Perfect for:
- Invitations
- Banners
- Gift tags
- Table decorations
- Paper pumpkins
Printable Materials
Useful for:
- Stickers
- Labels
- Treat-bag graphics
- Party accessories
Always check the recommended settings for your specific material and machine, and perform a test cut when working with an unfamiliar material.
Step 4: Make Halloween Decorations Personal
Personalization can turn a simple Halloween decoration into a memorable keepsake.
Try creating:
Personalized Pumpkin Signs
Add a family name, house number, or spooky message to a layered sign.
Custom Trick-or-Treat Bags
Add each child’s name alongside a Halloween character or graphic.
Halloween Party Labels
Create customized labels for candy jars, drinks, desserts, and party favors.
Personalized Wall Décor
Combine names, spooky phrases, and Halloween graphics to create seasonal artwork.
The possibilities are limited mainly by your imagination.
Step 5: Try Print & Cut for Halloween Stickers
Print & Cut is another great way to personalize Halloween crafts.
You can create sheets of:
- Pumpkin stickers
- Ghost stickers
- Candy labels
- Name stickers
- Treat-bag seals
- Party favor stickers
Design your artwork in Silhouette Studio®, print it on compatible material, and let your Silhouette machine cut around the designs.
This is especially useful for creating multiple personalized stickers in one project.
Use the Silhouette Design Store for More Inspiration
You don’t need to create every element from scratch.
The Silhouette Design Store can help you find Halloween artwork, fonts, patterns, and other digital designs to build your projects around.
You can combine different elements to create something new.
For example, pair:
Halloween graphic + spooky font + personalized name = custom party decoration
Or:
Pumpkin design + family name + layered cardstock = personalized seasonal sign
Always check the applicable licensing terms if you plan to sell finished products made using purchased designs.
Make Halloween Crafts for a Small Business
Personalized Halloween crafts can also become seasonal products for creative businesses.
Consider offering:
- Custom Halloween shirts
- Personalized treat bags
- Party stickers
- Gift tags
- Halloween signs
- Custom packaging
- Party decorations
Because digital designs can be resized and customized, you can create multiple product variations from a similar creative concept.
That makes seasonal collections easier to develop.
Simple Tips for Better Halloween Projects
Before you start cutting, keep these tips in mind:
- Test your design first on inexpensive material.
- Choose the right material for the finished project.
- Keep personalization readable, especially on small products.
- Use offsets when you want a clean border around artwork.
- Save successful designs so you can reuse them next Halloween.
- Combine digital elements carefully to create a cohesive look.
Most importantly, don’t be afraid to experiment.
Halloween is the perfect season for trying unusual colors, playful typography, layered designs, and unexpected combinations.
Final Thoughts
Personalized Halloween crafts don’t have to begin with a blank canvas.
With digital designs from the Silhouette Design Store, the creative tools in Silhouette Studio®, and a Silhouette cutting machine, you can start with existing artwork and transform it into something uniquely yours.
Whether you’re making a spooky T-shirt, a personalized treat bag, a Halloween party sticker, or seasonal home décor, digital designs give you a flexible starting point.
So choose your favorite spooky design, add your own personal touch, and let your Silhouette turn it into a Halloween project that feels completely yours.