




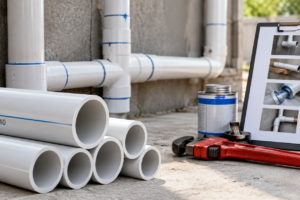
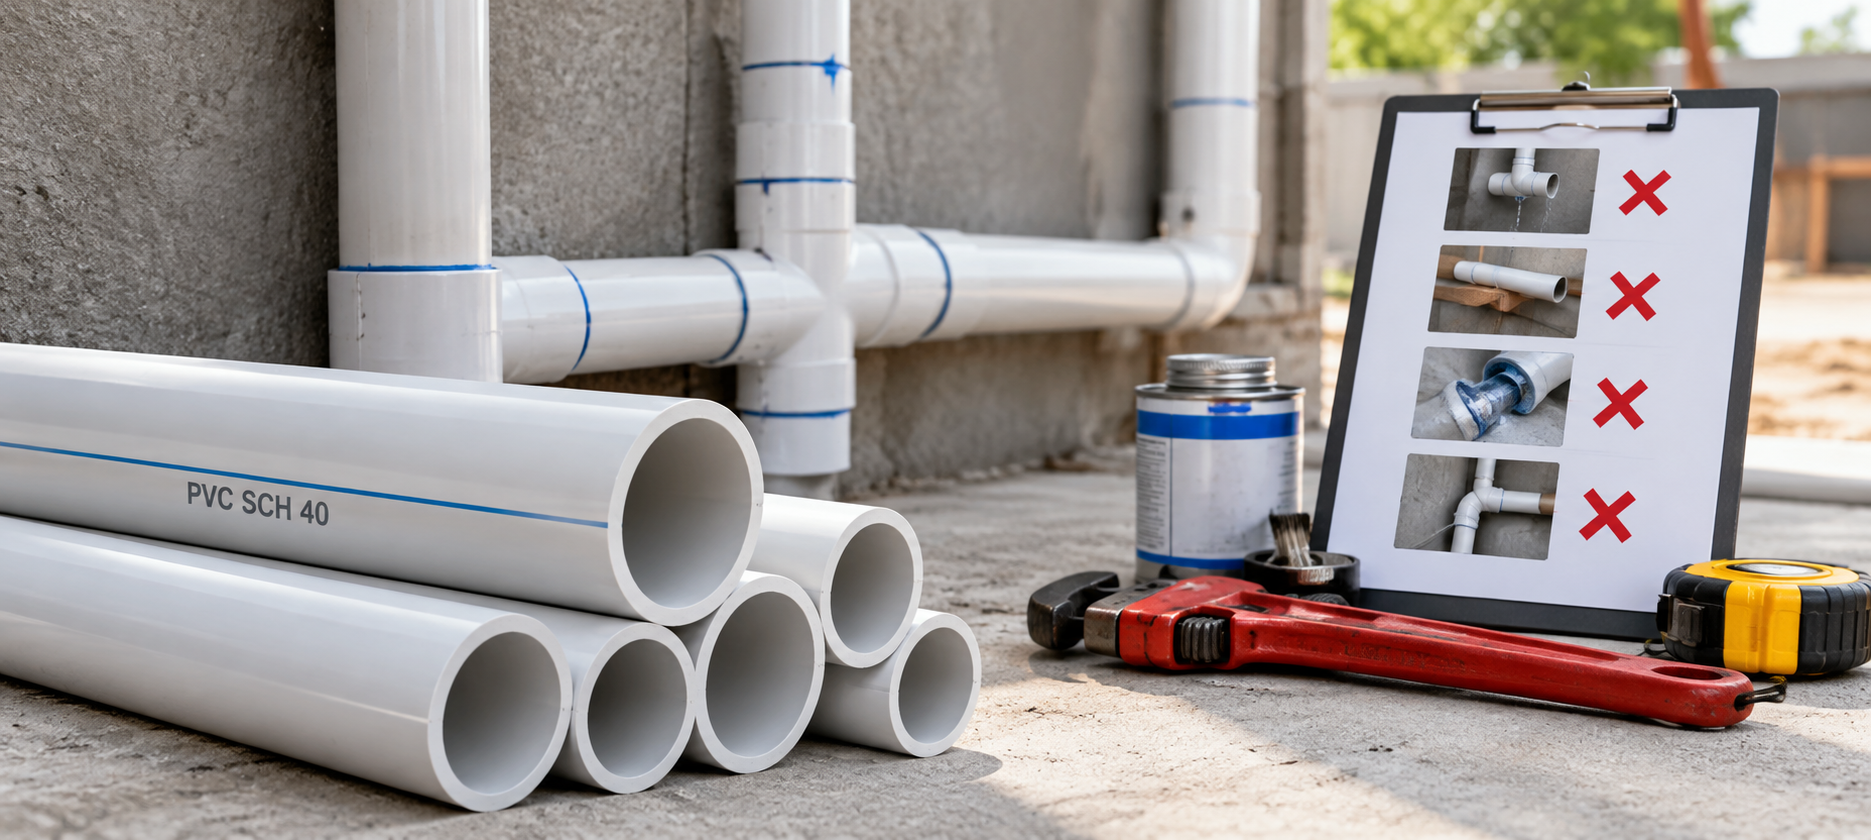
Schedule 40 PVC pipes are widely used for water supply, drainage, and general plumbing because they are strong, affordable, and long lasting. But even a well made pipe can fail early if it is installed the wrong way. Most leaks, cracks, and joint failures trace back to avoidable mistakes made on site. This guide covers the most common errors and shows you how to prevent each one.
Why Installation Matters as Much as the Pipe
A good pipe only performs well when the system around it is built correctly. Schedule 40 pipes are rigid, so they depend on clean cuts, proper joints, and correct support to handle pressure and temperature changes.
When installation is rushed, problems usually appear months later, often behind finished walls or under floors. Fixing them at that stage costs far more than doing the job properly the first time.
8 Common Installation Mistakes and How to Avoid Them
1. Cutting the Pipe Unevenly
A crooked cut leaves gaps inside the joint, and the solvent cement cannot seal the surface evenly. This is one of the most frequent causes of slow leaks.
How to avoid it:
- Use a proper pipe cutter or fine toothed saw
- Mark the cutting line all the way around the pipe
- Keep the cut square to the pipe length
2. Leaving Burrs and Rough Edges
After cutting, the pipe end often has shavings and sharp edges. These can scrape away cement during joining and prevent a full seal. Rough edges inside the pipe can also catch debris and restrict flow.
Remove burrs with a deburring tool or knife, and lightly bevel the outer edge before joining.
3. Skipping the Dry Fit
Many installers apply cement straight away without checking how the parts fit together. If the pipe does not seat properly, there is no time to correct it once cement is applied.
Always dry fit first. The pipe should enter the fitting about one third to two thirds of the way by hand. Mark the insertion depth so you know it is fully seated later.
4. Skipping Primer or Using Too Little Cement
Primer softens the surface so the cement can bond properly. Skipping it, or applying cement unevenly, creates weak spots in the joint.
Follow these steps for a reliable joint:
- Clean the pipe end and fitting socket
- Apply primer to both surfaces
- Apply an even layer of solvent cement
- Push the pipe in with a quarter turn
- Hold it firmly for 15 to 30 seconds
5. Not Allowing Enough Curing Time
Pressurizing the line too early is a very common mistake. The joint may look dry on the outside while the cement inside is still soft.
Curing time depends on pipe size, temperature, and humidity. Check the cement manufacturer’s instructions and wait the full recommended time before running water or testing.
6. Poor Support and Wrong Spacing
Long pipe runs without enough clamps will sag over time. This puts constant stress on joints and can cause cracks.
- Place supports at regular intervals along horizontal runs
- Do not clamp the pipe so tightly that it cannot move
- Allow for slight expansion and contraction with temperature changes
7. Mixing Incompatible Pipes and Fittings
Using fittings with a different size standard, pressure class, or material can lead to loose or weak connections. Parts that look similar are not always designed to work together.
Choose pipes and fittings that are made to match. Buying from established pvc pipe manufacturers in pakistan helps ensure consistent sizing, proper wall thickness, and dependable quality across the whole system.
8. Skipping the Pressure Test
Some installers close the walls or cover the trench without testing the system first. A small leak then goes unnoticed until water damage appears.
Always test the line under pressure and check every joint before plastering, tiling, or backfilling.
Extra Tips for Outdoor and Underground Use
Outdoor pipes face different conditions than indoor lines. A few simple precautions can extend their life.
- Protect from sunlight: Paint exposed pipes with a suitable coating or cover them
- Bury at proper depth: Use clean sand or soft soil around underground pipes, free from sharp stones
- Avoid heavy loads: Do not let vehicles or machinery pass over shallow pipes
Quick Installation Checklist
Before you finish the job, run through this list:
- Cuts are square and burrs are removed
- Dry fit completed and depth marked
- Primer and cement applied evenly
- Joints held and cured for the full time
- Supports installed at correct spacing
- Pressure test completed with no leaks
Final Thoughts
Most problems with Schedule 40 PVC pipes come from small mistakes that are easy to prevent. Clean cuts, proper cement application, correct support, and patient curing make the difference between a system that lasts decades and one that fails early. Take your time, follow the steps, and test before closing anything up.
Frequently Asked Questions
1. What does Schedule 40 mean in PVC pipes?
Schedule 40 refers to the pipe’s wall thickness rating. It is a standard thickness suited for many residential, commercial, and light industrial water applications.
2. How long should I wait before using a newly cemented PVC joint?
Wait time depends on pipe size, temperature, and the cement used. Always follow the manufacturer’s instructions, and allow full curing before pressure testing.
3. Can I use Schedule 40 PVC pipes for hot water?
No. Standard PVC is designed for cold water. For hot water lines, materials such as PPRC or CPVC are the safer choice.
4. Do I need primer for every PVC joint?
Primer is recommended for most joints because it cleans and softens the surface for a stronger bond. Some local codes require it, so check the requirements for your project.
5. Can Schedule 40 PVC pipes be used underground?
Yes. They are commonly used underground when buried at proper depth with clean bedding and protected from heavy loads.